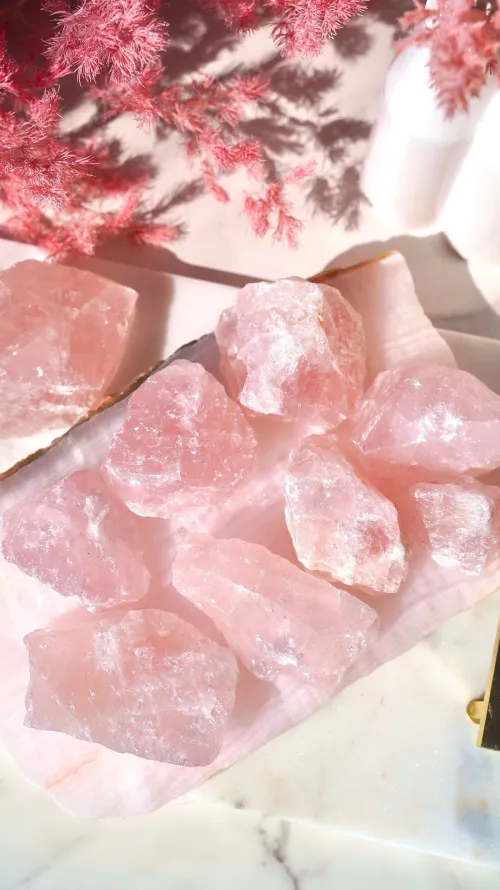
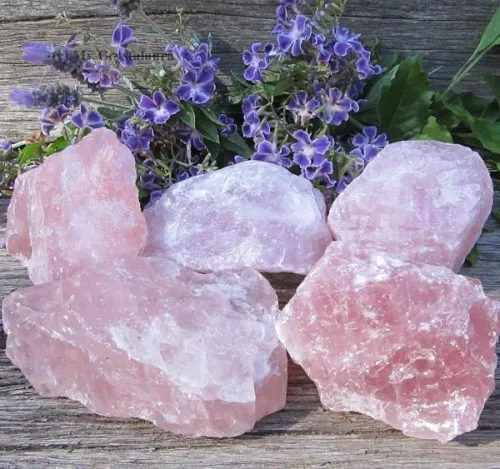
Well now, you've probably held a raw rose quartz piece before—that lovely pink stone with its milky surface and soft edges? It feels... earthy. Authentic. But something happens when you transform it into a gleaming gem. Suddenly that gentle pink glows like captured sunset. Thing is, polishing crystals isn't just lapidary work—it's coaxing out the stone's hidden song. When done right, the finished piece seems to emit its own light. At some point though, people get intimidated—rumors of diamond wheels and weeks of grinding make it sound impossible. Truth? With patience and these principles, anyone can unfold the magic within their rose quartz. Ready to bring out that inner shine?
This journey unfolds through these steps:
- Core Polishing Principles
- Essential Material Preparation
- Step-by-Step Grinding Sequence
- Achieving Optical Clarity
- Surface Luster Verification
- Long-Term Finish Preservation
- Sustainable Practice Considerations
Core Polishing Principles
Picture this: the stone humming under your fingertips as you guide it across the wheel—not forcing but following. That's where new crafters stumble; rose quartz may look serene, but its Mohs 7 hardness demands respect. Think of gentle persistence—never rushing the conversation between stone and tool. What really unlocks results? Consistency. Whether pressing against diamond abrasives or feeling vibration patterns, maintaining uniform pressure distribution teaches you the stone's language. Trust that resonant feedback—it's your compass in revealing brilliance.
Essential Material Preparation
Before the first stroke comes preparation—it's like clearing clutter from your workspace so intention flows freely. You'll find most raw quartz arrives with geological memoirs etched on its surface: mineral deposits, clinging dirt accumulated over its deep-earth history. Here's what matters: washing with water and mild detergent lifts away all that journey residue without compromising integrity. Now, examine fractured lines—those inner stories could affect polish depth. But honestly? That's what gives each piece soul. You're preparing the canvas, not erasing character.
Step-by-Step Grinding Sequence
Okay. This phase feels like meditation in motion—wheels whirring, water trickling. It's where your crystal sheds its cloudy veil systematically. Start with the diamond tools—coarse-grit shaping feels primal, carving the quartz into fresh contours while 60-120 grit wheels bite into crystalline structures. You'll notice micro-particles swirling like pink mist in runoff water—that constant irrigation isn't optional. It's literally preventing thermal fractures caused by friction. Beautiful process this.
The shift to refinement feels like exhaling. Now you layer increasingly gentle abrasives: progress through 220, 600, and 1500+ grit diamond pads rhythmically. Each grit erases the previous layer's marks without mercy. This transitional work may feel repetitive—but it's essential choreography. Think of it as teaching the quartz molecular harmony before polishing sings aloud.
Water Discipline Matters
Ever see someone grinding "dry"? Disaster. Constant water flow cools the transformation, protecting integrity. Without it, minute fractures spread like cobwebs under pressure.
Achieving Optical Clarity
Transition from grinding feels like daybreak. Now we work where light dances within the stone. Using cerium or tin oxide compounds on soft wheels achieves microscopic smoothing—these mineral powders fill infinitesimal valleys you couldn't detect. And the wheel itself matters when polishing on felt or leather rotating at 700-1200 RPM. The thing is, your crystal literally becomes lighter here—reflecting rather than absorbing illumination, as if waking from a century-long slumber.
The Final Spin
This stage requires sensory awareness—listen for pitch changes on the wheel. Too fast compromises quartz stability; too slow won't activate polishing compounds. It's that last 10% where patience translates to perfection.
Surface Luster Verification
Now the moment—holding pink sunlight in your palms. But how to know polishing finished communicating? First, test reflectivity: angled light should bounce off at >90% reflectance, creating mirrored surfaces. Then inspect against bright illumination: cross-directional scrutiny under magnification exposes lingering scratches, those stubborn messengers calling you back. Don't fear finding one—it's a conversation. Each buff reveals deeper clarity.
A Personal Invitation
Why not experiment this week with one palm-sized quartz piece? Notice three things: sound pitch during polishing, water's cloud patterns, color transformation under morning light.
Long-Term Finish Preservation
So you've gifted the crystal luminosity—now protect its glow. Avoiding prolonged UV exposure prevents color fading during storage. Routine cleansing? Simple solutions emerge when using pH-neutral cleaners with microfiber buffing. These practices extend crystalline radiance exponentially.
Micro-Scratches Recovery
Years later, you may spy surface whispers appearing—tiny scuffs from adventurous living. No panic. Periodic re-polishing sessions gently restore the stone's original vibrancy while keeping its earned history.
Sustainable Practice Considerations
Crafting beauty shouldn't burden our world. For example, implementing wastewater sediment filters recycles mineral particulates responsibly—protecting ecosystems downstream. Safety matters too. Donning ANSI-standard goggles and respirators honors both your journey and personal wellness. Remember, respecting stone reflects respect for all creation.
Structural Wisdom
Those graceful 0.5-1.0mm rounded edges aren't merely aesthetic—they prevent micro-fractures through generations of handling. Your care echoes beyond today.